Ginger Beer Plant Fermenting Guide
Ginger Beer Plant is a traditional fermented drink culture used to make naturally fizzy homemade ginger beer with sugar, ginger, lemon, and water.
Step 1: Gather your ginger beer plant brewing supplies
To make ginger beer, you’ll need:
- Dehydrated Ginger Beer Plant (your pack contains enough for a 500ml or 1000ml batch)
- Filtered water (non-chlorinated)
- Sugar (organic white sugar preferred)
- Fresh ginger juice or finely grated ginger
- 1/2 slice lemon
- Optional: 1/2 tsp molasses or rapadura for added minerals
- A glass fermentation jar
- A breathable cover (cloth or coffee filter and rubber band)
- A plastic or wooden spoon
- A fine-mesh strainer
- Pressure-rated fermentation bottles for the optional second fermentation
Step 2: Prepare the sweet ginger mixture
For a 500ml batch, dissolve 3 tbsp sugar in 500ml filtered water.
If using, add 1/2 tsp molasses or rapadura for additional minerals.
Pour the sweetened water into your fermentation jar, then add:
- 3g dehydrated ginger beer plant
- 1–2 tbsp fresh ginger juice or finely grated ginger
- 1/2 slice lemon
Stir gently to combine. If preparing a 1000ml batch, double the ingredients and use the appropriate quantity of ginger beer plant supplied with your order.
Step 3: First fermentation (activate and ferment)
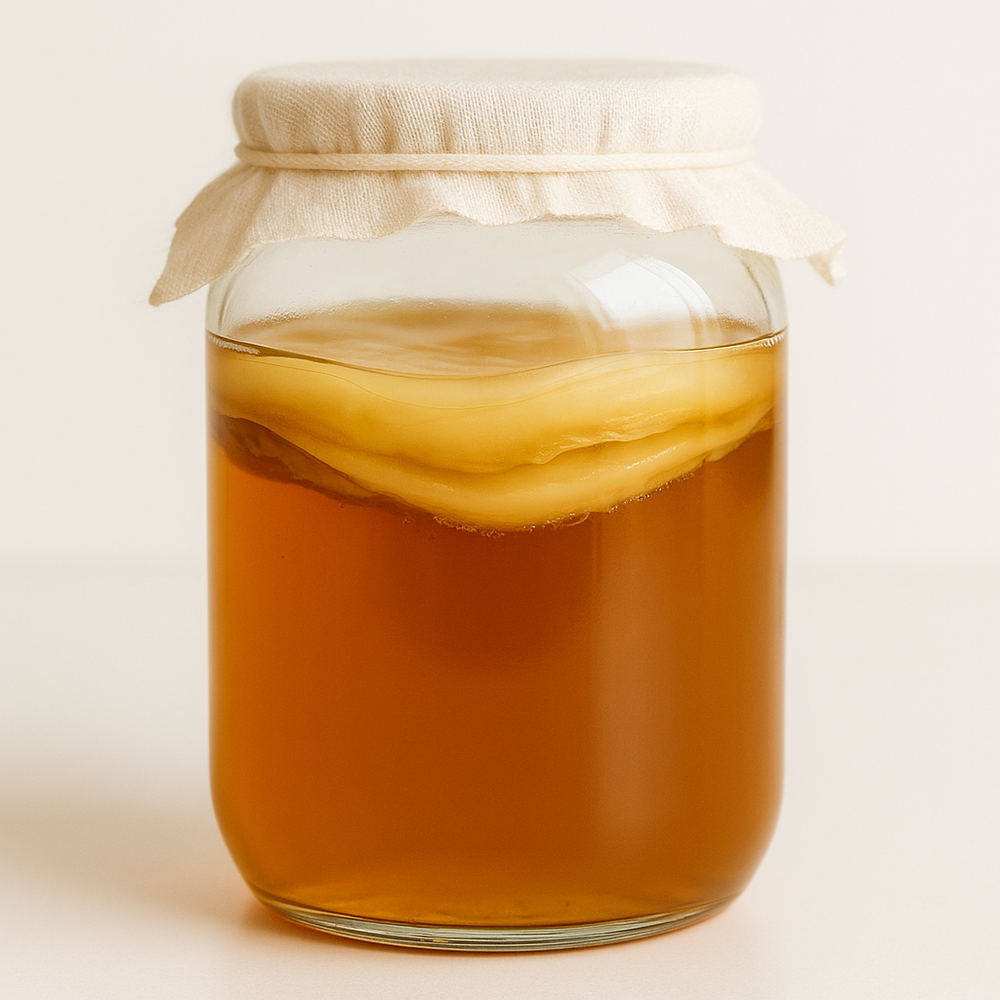
- Cover the jar with a breathable cloth or coffee filter and secure with a rubber band.
- Leave at room temperature (20–25°C) for approximately 3–7 days.
- Stir gently once daily during fermentation.
- Begin checking from day 3. The mixture should gradually develop a pleasant ginger aroma, gentle tanginess and signs of fermentation.
- Once fermentation is established and the ginger beer has developed a pleasantly tangy flavour, it is ready to strain.
Important: Dehydrated ginger beer plant may require several fermentation cycles to fully reactivate after shipping. During the first few batches, fermentation may be slower, with less noticeable bubbling or carbonation. This is normal while the culture acclimatises.
Warmth is particularly important during activation. For best results, maintain a consistent temperature of approximately 23–25°C.
Step 4: Strain and refresh your ginger beer plant
- Once the first fermentation is complete, pour the mixture through a fine-mesh strainer into a clean container.
- Set the ginger beer plant aside for your next batch.
- Discard the used ginger and lemon pieces.
- The strained liquid is now your fermented ginger beer base. You can refrigerate it immediately or proceed to a second fermentation for additional carbonation.
- Transfer your ginger beer plant into a fresh batch of sweetened ginger mixture using the same recipe above.
Tip: Reusing your ginger beer plant regularly helps maintain a healthy, active culture. As the grains become established, fermentation will generally become more consistent.
Step 5: Second fermentation (naturally carbonate your ginger beer)
The second fermentation is optional but recommended if you enjoy a naturally fizzy ginger beer. During this stage, the strained ginger beer is bottled without the grains, allowing the remaining yeasts and bacteria to produce carbon dioxide, which creates natural carbonation.
How to second ferment:
- 1. Bottle your ginger beer: Pour the strained ginger beer into clean bottles specifically designed to withstand carbonation pressure. Leave approximately 3–5cm of headspace at the top.
- 2. Add optional flavourings: For a stronger ginger flavour, add a small amount of fresh ginger juice. You can also experiment with lemon or lime juice, or other natural flavourings.
- 3. Seal the bottles: Secure the lids tightly to allow carbon dioxide to build up and naturally carbonate the ginger beer.
- 4. Leave at room temperature: Allow the bottles to ferment at approximately 20–25°C. Carbonation may develop within 12–48 hours, although the exact timing varies depending on temperature, residual sugar and culture activity.
- 5. Monitor carbonation carefully: Check frequently for signs of carbonation. A pressure-rated plastic PET bottle filled from the same batch can be used as a guide. As it becomes firm, pressure is developing inside.
- 6. Refrigerate: Once the desired carbonation has developed, transfer the bottles directly to the refrigerator to slow fermentation and further pressure development.
- 7. Chill and enjoy: Refrigerate thoroughly before opening. Open slowly over a sink, as naturally fermented ginger beer can become quite fizzy.
Do I need to add more sugar for the second fermentation?
Generally, there will still be some residual sugar remaining after the first fermentation, which the cultures can use to produce carbonation. Additional sugar is not always necessary.
If the ginger beer has fermented until quite dry, a small amount of additional sugar may encourage carbonation. However, adding too much sugar can create excessive pressure, so it is best to avoid additional sugar unless you are familiar with monitoring and controlling bottle carbonation.
Important safety information: Carbonation produces pressure inside sealed bottles. Always use bottles specifically rated for carbonated beverages or fermentation. Never use ordinary glass jars, decorative bottles or unsuitable containers for sealed fermentation. Check carbonation frequently, do not leave sealed bottles fermenting unattended for extended periods, and refrigerate promptly once carbonated. Refrigeration slows fermentation but does not stop it completely. Always open bottles carefully.
Step 6: Store and enjoy your homemade ginger beer
- Keep your finished ginger beer refrigerated.
- For the best flavour and freshness, enjoy within approximately 1–2 weeks when properly refrigerated.
- Always open bottles slowly and carefully, as carbonation may continue developing during storage.
- If you prefer a less fizzy ginger beer, simply skip the second fermentation and refrigerate the strained ginger beer immediately.
Tips for successful ginger beer fermentation
- Maintain a consistent temperature: Ginger beer plant generally performs best at approximately 23–25°C. Cooler temperatures can significantly slow fermentation.
- Use non-chlorinated water: Filtered water is recommended, as excessive chlorine may interfere with microbial activity.
- Be patient during activation: Dehydrated cultures can take several fermentation cycles to become fully active and produce consistent results.
- Refresh regularly: Transfer your ginger beer plant into fresh sweetened water after each fermentation to maintain its activity.
- Monitor fermentation: Fermentation times vary with temperature, sugar concentration and culture activity. Use the recommended times as a guide rather than a strict rule.
- Practise good hygiene: Always use clean equipment and discard any batch showing visible mould, unusual discolouration or a distinctly unpleasant, rotten smell.
That's it! With just Ginger Beer Plant, sugar, ginger, lemon and water, you can make your own naturally fermented ginger beer at home. Enjoy it lightly fermented or add a second fermentation for a deliciously fizzy homemade ginger beer.
Want to explore more ferments? Check out our Organic Water Kefir Grains, Organic Milk Kefir Grains, and Organic Kombucha SCOBY for more delicious homemade fermented drinks.