Sourdough Baking Guide
Your First Sourdough Loaf — A Step-by-Step Recipe
There’s something special about pulling a crusty, golden loaf of sourdough out of your own oven. This beginner-friendly recipe walks you through preparing your starter, mixing, folding, shaping, proofing and baking.
Makes one loaf — approximately 935 g of dough. The moderate hydration makes this dough easier to handle while you learn to recognise each stage.
Start with a reliable starter. Your culture should already be rehydrated and rising predictably after feeds. A few bubbles alone do not show that it is strong enough to lift a loaf.
Watch the dough as well as the clock. The timings below assume a strong starter and dough around 24–26 °C. Flour, temperature and starter activity all affect the pace.
What You’ll Need
For the Baking Starter
- 20 g active sourdough starter.
- 60 g flour.
- 60 g water.
This makes 140 g. Use 100 g in the dough, keep 20 g to feed as your next reserve and allow approximately 20 g for what remains in the jar or suitable cooked discard use.
For the Dough
- 500 g strong white bread flour.
- 325 g water.
- 100 g active starter at 100% hydration from the build above.
- 10 g fine salt.
You’ll also need a little rice flour or plain flour for dusting your proving basket. This is not mixed into the dough.
The flour and water used to prepare the baking starter are additional to the dough ingredients. A starter at 100% hydration contains equal weights of flour and water.
Equipment
- Digital kitchen scales.
- A clean jar for the baking starter.
- A large mixing bowl and spoon or dough whisk.
- A dough scraper.
- A banneton or bowl lined with a clean, dry tea towel.
- A suitable Dutch oven or covered bread baker.
- A bread lame or very sharp scoring blade.
- Baking paper rated for the baking temperature.
- Dry oven gloves and a cooling rack.
- A thermometer for checking dough temperature, if available.
Step 1 — Prepare Your Baking Starter
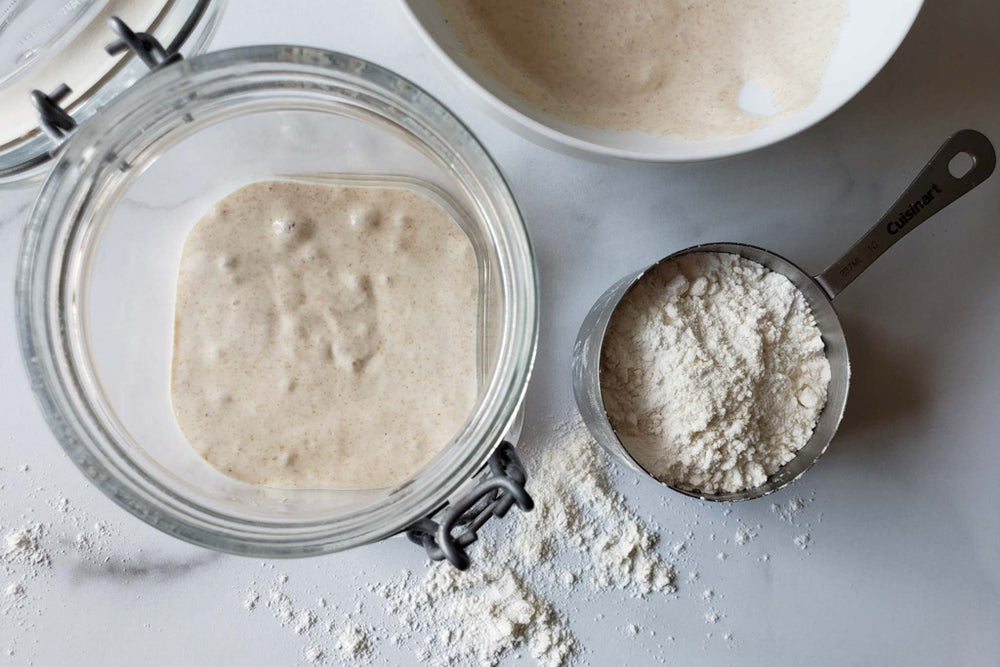
Mix 20 g active starter, 60 g flour and 60 g water in a clean jar. Mark the starting level, cover loosely and leave at around 24–26 °C.
A strong starter may take approximately 6–10 hours at this feeding ratio. Use it when it is well risen, aerated and near its peak, rather than relying on a fixed deadline.
If it has collapsed deeply and become sluggish, refresh it again and wait for a strong rise before mixing your dough.
Keep your reserve. Weigh out 100 g for the loaf and retain 20 g to feed for your next bake.
Step 2 — Mix the Dough
Weigh 325 g water into your mixing bowl. Add 100 g active starter and stir to disperse it. A few small lumps are fine.
Add 500 g strong white bread flour and 10 g fine salt. Mix thoroughly until no dry flour remains, checking the bottom and sides of the bowl.
The dough will look rough and sticky at first. Give the flour time to absorb the water before deciding it needs extra flour.
Step 3 — Cover and Rest
Cover the bowl and leave it for 30 minutes.
This is a rest after mixing. A traditional autolyse uses flour and water before adding starter and salt, so this method does not require a separate autolyse.
Start the fermentation clock when you mix. Bulk fermentation begins when the starter enters the dough. The 30-minute rest and all the folding time are included in the total bulk fermentation time.
Aim for a dough temperature around 24–26 °C and note your mixing time.
Step 4 — Strengthen with Four Sets of Folds
Make four sets of stretch and folds, about 30 minutes apart, beginning after the initial rest. This places the sets at approximately 30, 60, 90 and 120 minutes after mixing.
For each set:
- Lightly wet your hand.
- Lift one edge of the dough until you feel resistance, then fold it over the centre.
- Turn the bowl a quarter turn and repeat.
- Work around all four sides, then cover the bowl again.
Each set should take less than a minute. The dough should gradually become smoother, more elastic and better able to hold its shape.
If it tears or resists strongly, stop and give it more rest. After the final set, leave it covered to continue fermenting.
Step 5 — Finish Bulk Fermentation

For this recipe, allow approximately 4–7 hours in total from mixing at 24–26 °C. This includes the initial rest and folds — it is not an additional 4–7 hours after folding.
Look for several signs together:
- The dough has visibly expanded.
- Bubbles and aeration are visible around the sides.
- The top is gently rounded and the edges look less dense.
- The dough feels lighter and moves with a gentle wobble.
For an overnight cold proof, begin assessing around a 30–50% increase in volume. Use the lower end for warmer dough that will take time to cool in the fridge, and the higher end for cooler dough.
If the dough is still dense and shows little gas, allow more time and recheck. Avoid waiting automatically for it to double: fermentation continues during shaping and while the dough cools.
Step 6 — Preshape and Rest

Dust your banneton or tea-towel-lined bowl with rice flour or plain flour. Make sure the lining is clean and dry.
Turn the dough onto a lightly floured bench. Use a scraper to gently draw the edges towards the centre and form a loose round, without tearing the surface or pressing out all the gas.
Rest for 15–20 minutes, covering the dough if its surface is drying.
Step 7 — Shape Your Loaf
- Lightly flour the top of the dough, then turn it over so the smoother side faces down.
- Fold the lower edge towards the centre, followed by the left and right sides.
- Bring the upper edge over the middle to form a compact parcel.
- Turn it seam-side down. Cup your hands around it and draw it gently across an unfloured patch of bench to tighten the surface.
- Stop when it holds a rounded shape, then place it seam-side up in your prepared basket and cover.
A little surface tension helps the loaf rise upwards. Stop before the skin tears, and use a scraper and a small dusting of flour if it sticks.
Step 8 — Choose Your Final Proof

Choose one of the following routes.
Option 1 — Overnight Refrigerator Proof
Cover the basket and refrigerate after shaping. Begin with 8–14 hours at approximately 4 °C.
The next day, bake directly from the fridge once your oven and covered baker are fully preheated. Cold dough is easier to score.
If the dough looks unusually dense and barely changed, allow a short room-temperature finish while monitoring it rather than baking simply because the planned time has elapsed.
Option 2 — Same-Day Room-Temperature Proof
At around 24–26 °C, allow approximately 1–3 hours, checking earlier in warmer conditions.
The loaf should look puffier while retaining some resilience. A lightly floured fingertip impression should return slowly rather than springing straight back.
The poke test is only one clue and is less useful on chilled dough. Consider the loaf’s expansion and strength as well.
Choose one proofing route. Do not automatically complete a full warm proof and then add a long overnight proof.
If the dough becomes fragile and begins spreading, bake promptly. Next time, shorten the warm fermentation or cool the dough sooner.
Step 9 — Preheat the Oven and Baker
Preheat a suitable Dutch oven and its lid at 240 °C conventional or 220 °C fan.
Allow approximately 40–45 minutes for the oven and vessel to heat thoroughly.
Follow your cookware manufacturer’s instructions. If a lower temperature is required, use that temperature and allow a longer bake. Check that your baking paper is rated for the temperature too.
Step 10 — Score and Bake
- Turn the proved loaf onto suitable baking paper so the seam is underneath. Brush away heavy loose flour.
- Make one confident slash approximately 5–10 mm deep across the top with a bread lame or very sharp blade.
- Using dry oven gloves, carefully lower the loaf into the hot baker and replace the lid.
- Bake covered for 25 minutes at 240 °C conventional or 220 °C fan.
- Remove the lid carefully, directing steam away from you. Reduce the oven to 220 °C conventional or 200 °C fan.
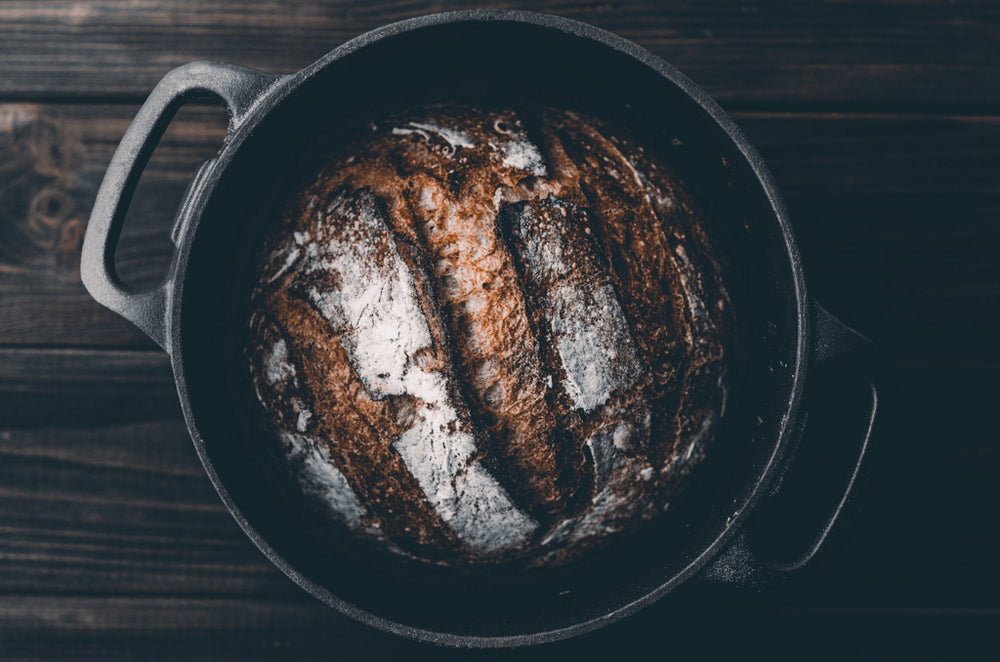
- Bake uncovered for another 20–25 minutes, until deeply coloured and cooked through.
The crust should be firm and well browned. An internal temperature of approximately 96–99 °C is a useful additional check for this loaf, alongside its colour, texture and baking time.
Baking Without a Dutch Oven
A suitable baking stone or heavy oven-safe tray can also be used. Follow the equipment’s preheating instructions. A manufacturer-approved oven-safe metal cover with enough clearance can trap some of the dough’s own steam during the first part of baking.
Remove the cover carefully and finish uncovered until browned and cooked through. Expect some differences in crust and oven spring.
Added steam is optional. Only use an oven-approved method; never pour water onto the oven floor, glass door, hot glass dishes or electrical parts.
Step 11 — Cool, Slice and Enjoy

Transfer the loaf to a cooling rack and leave for at least 2 hours, ideally until the centre no longer feels warm.
Moisture continues moving through the crumb as it cools. Slicing while hot can compress the crumb and make it seem gummy, even when the loaf has baked well.
Slice with a serrated knife and enjoy. A successful first loaf does not need giant holes — look for a cooked, pleasantly springy crumb and a crust you enjoy.
Your Approximate Baking Timeline
- Baking starter: Approximately 6–10 hours at 24–26 °C, until well risen and near its peak.
- Mix and rest: Mix the dough, then rest for 30 minutes.
- Folds: Four sets at approximately 30, 60, 90 and 120 minutes after mixing.
- Total bulk fermentation: Approximately 4–7 hours from mixing at 24–26 °C, including the rest and folds.
- Preshape: Form a loose round and rest for 15–20 minutes before final shaping.
- Final proof: Either 8–14 hours refrigerated at approximately 4 °C, or around 1–3 hours at 24–26 °C.
- Preheat: Approximately 40–45 minutes.
- Bake: 25 minutes covered, followed by 20–25 minutes uncovered.
- Cool: At least 2 hours, ideally until the centre no longer feels warm.
Use this as a planning guide. Move to the next stage when your starter or dough is ready, and keep notes so you can repeat what works in your kitchen.
Storing Your Loaf
Once completely cool, keep plain bread in a clean bread box or linen bread bag for a crisp crust, or a food-safe bag for a softer crust. Eat within a few days or freeze portions sooner.
Freeze cooled slices in a sealed freezer bag, then toast from frozen or thaw what you need. Avoid sealing a warm loaf, which traps condensation.
If a loaf develops mould, discard it completely rather than cutting away the visible patch.
Build Your Sourdough Confidence — One Guide to Keep Beside You
For a detailed companion to starter care and baking, explore The Complete Beginner’s Guide to Sourdough.
Our beautifully illustrated 48-page digital eBook brings together starter rehydration, feeding ratios, ongoing care and the full bread-making process — including mixing, folding, bulk fermentation, shaping, proofing, scoring and baking.
With six recipes, illustrated first-loaf stages, troubleshooting advice and quick-reference charts, you’ll have a practical reference to return to as your confidence grows.
Available to purchase separately as a digital PDF for your phone, tablet or computer.