
Milk Kefir Fermenting Guide
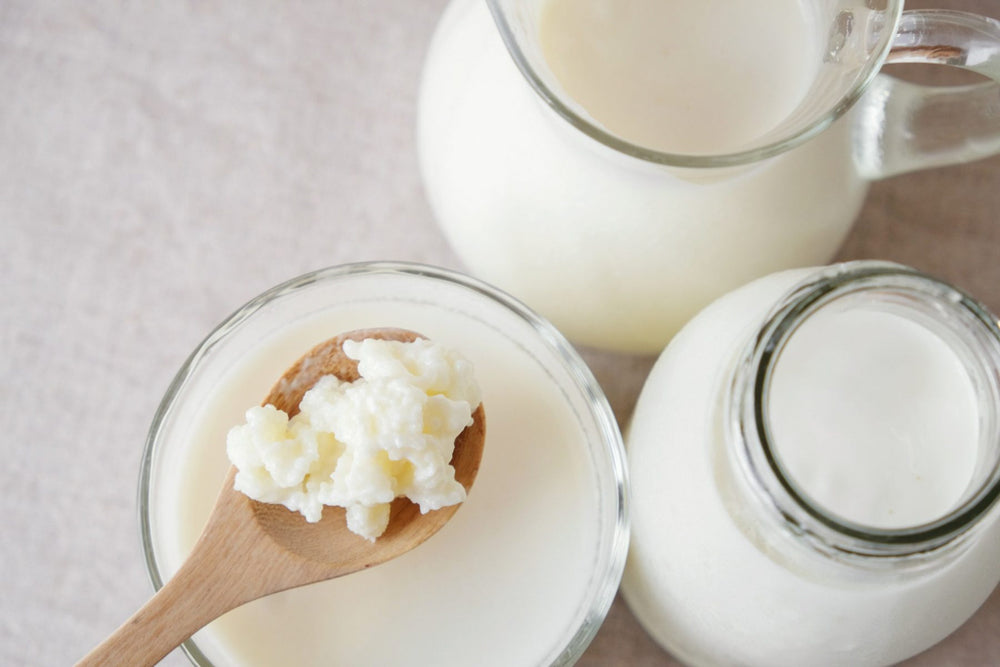
Milk Kefir is a creamy, tangy fermented milk drink made with living kefir grains — a symbiotic culture of bacteria and yeasts. With simple care, your grains will thrive and provide a lifetime of fresh, probiotic-rich kefir. Here’s a step-by-step guide on how to make milk kefir at home.
Step 1: Gather your milk kefir supplies
To brew milk kefir, you’ll need:
- Buy Organic Milk Kefir Grains online (enough for either 300ml or 600ml batches)
- Fresh whole milk (cow, goat, or sheep)
- A glass jar (avoid metal) — or try the Kefirko Milk Kefir Kit designed specially for kefir making
- A breathable cover (cloth or coffee filter + rubber band)
- A plastic or wooden spoon
- A fine-mesh strainer
Step 2: Prepare the milk
Use the ratio below depending on your grain batch size:
- For 300ml batch: add the 8g packet of grains to 300ml fresh whole milk.
- For 600ml batch: add the 16g packet of grains to 600ml fresh whole milk.
Cut the top off your kefir packet and pour some of the milk in to dislodge all the grains then pour this into your glass jar along with the rest of the milk and give a gentle stir.
Step 3: Ferment the milk kefir
- Cover with cloth and secure with a rubber band.
- Leave at room temperature (20–25°C) for 24–48 hours.
- The kefir should thicken slightly and taste tangy. Longer ferment = stronger, more sour flavour (too long and it may separate into curds and whey).
Note: The first few ferments are often a gentle “awakening” period for your grains after transit or storage. During this time, they may not produce fully thickened or tangy kefir — this is completely normal. After 2–5 batches, they’ll fully adjust to your milk and environment and begin fermenting reliably.
Step 4: Strain and reuse the kefir grains
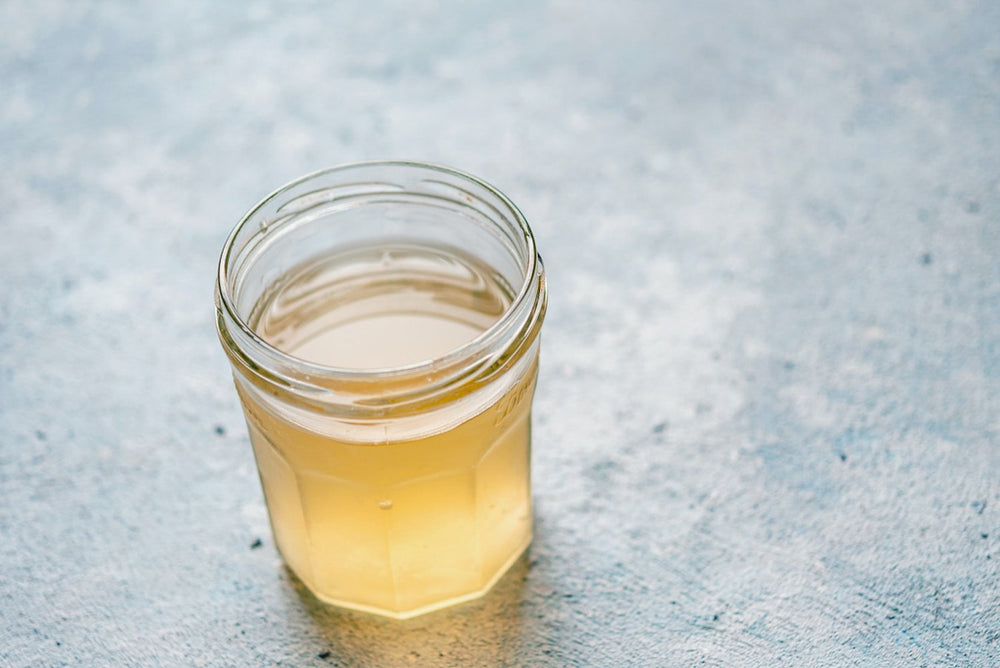
- Strain the kefir into a clean jar — this liquid is your ready-to-drink homemade kefir.
- Return the grains to fresh milk to start a new batch (using the same ratio as above).
Step 5: Store, flavour, and enjoy
- Refrigerate finished kefir to slow fermentation.
- Drink plain, add to smoothies, or use in recipes that call for buttermilk or yogurt.
- Optional second ferment: Pour strained kefir into a sealed bottle, add flavourings (fruit, vanilla, cinnamon, etc.), and leave at room temperature for 12–24 hours. This develops more flavour, reduces residual lactose, and creates gentle fizz. Refrigerate after fermenting.
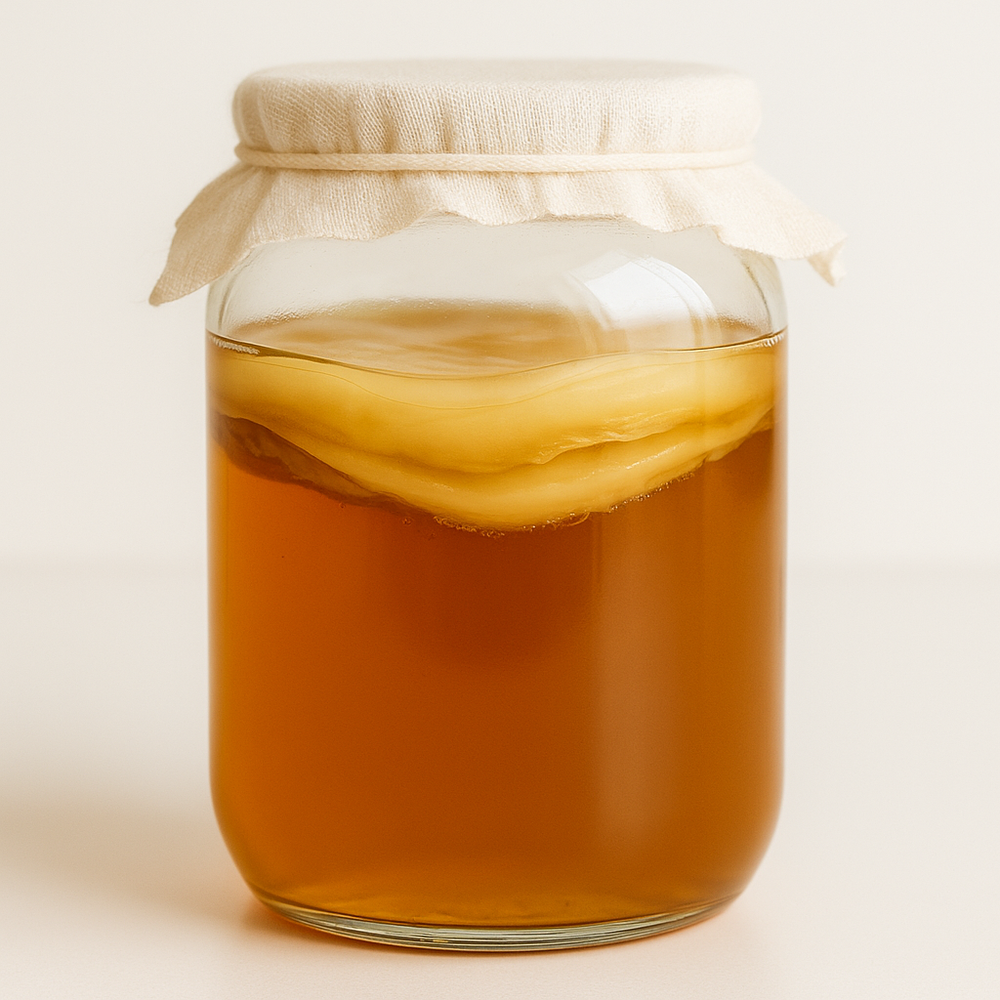
That’s it! With just milk kefir grains and fresh milk — or a complete Kefirko Milk Kefir Kit — you can make authentic probiotic-rich milk kefir at home. Want to try other ferments? Explore our Water Kefir Grains, Kombucha SCOBY, and Jun SCOBY.