
Sourdough Baking Guide
There’s something so special about pulling a crusty, golden loaf of sourdough out of your own oven. The smell fills the house, the crust crackles as it cools, and the first slice (with a generous swipe of butter) is pure comfort.
Don’t worry if you’re new to this — sourdough can look intimidating, but it’s really just about time, patience, and a few simple folds. This recipe is written to feel like I’m right beside you in the kitchen. Let’s make bread together.
What You’ll Need
Ingredients
-
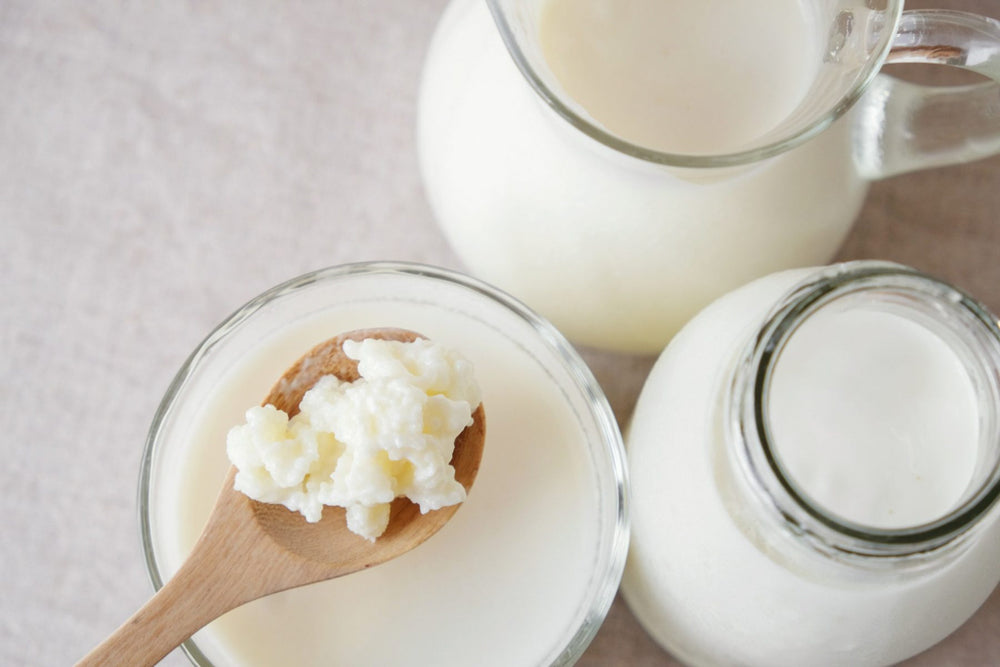
50g unfed starter
-
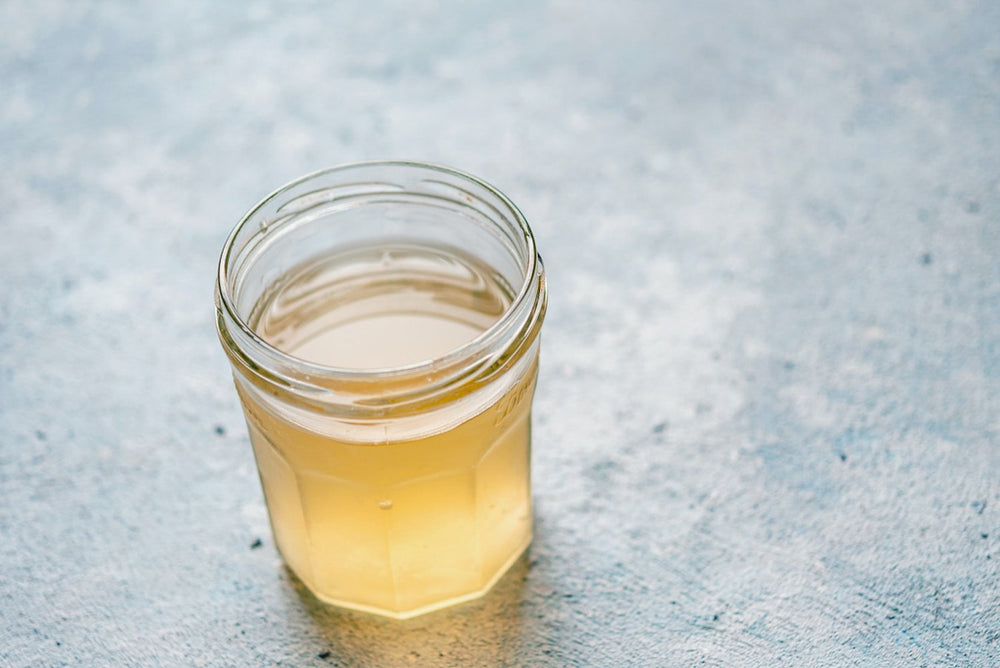
350g room-temperature, filtered water
-
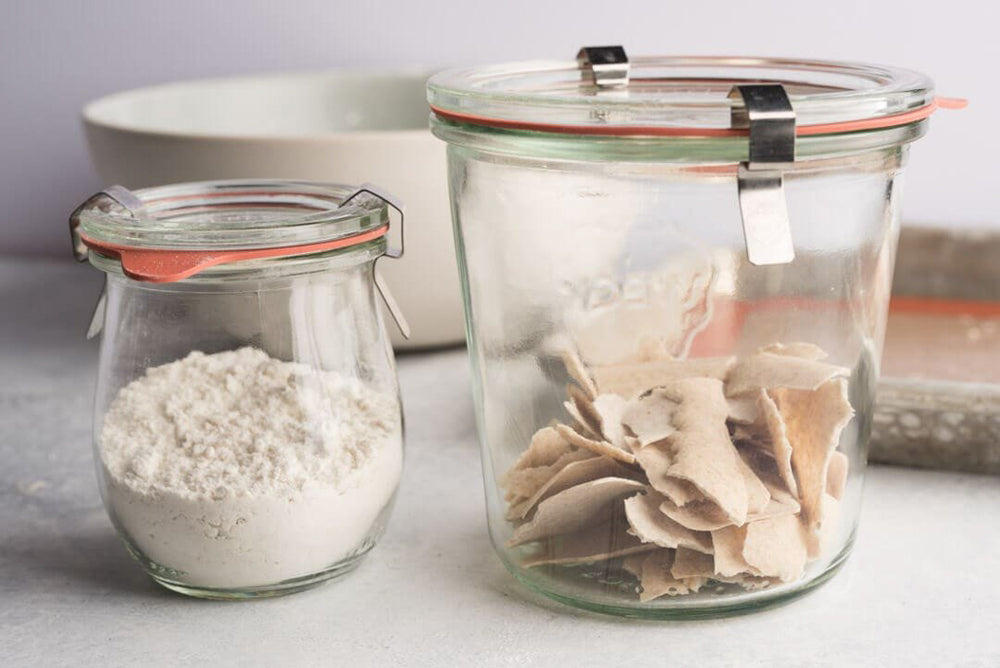
500g bread flour (you can use all white or mix in a little wholemeal for depth)
-
10g fine salt (non-iodised works best)
Equipment
-
A large mixing bowl
-
Dough whisk or wooden spoon
-
Dough scraper (handy but not essential)
-
Banneton basket (or a bowl lined with a floured tea towel)
-
A Dutch oven or baking stone
-
A sharp blade for scoring (a bread lame or razor blade)
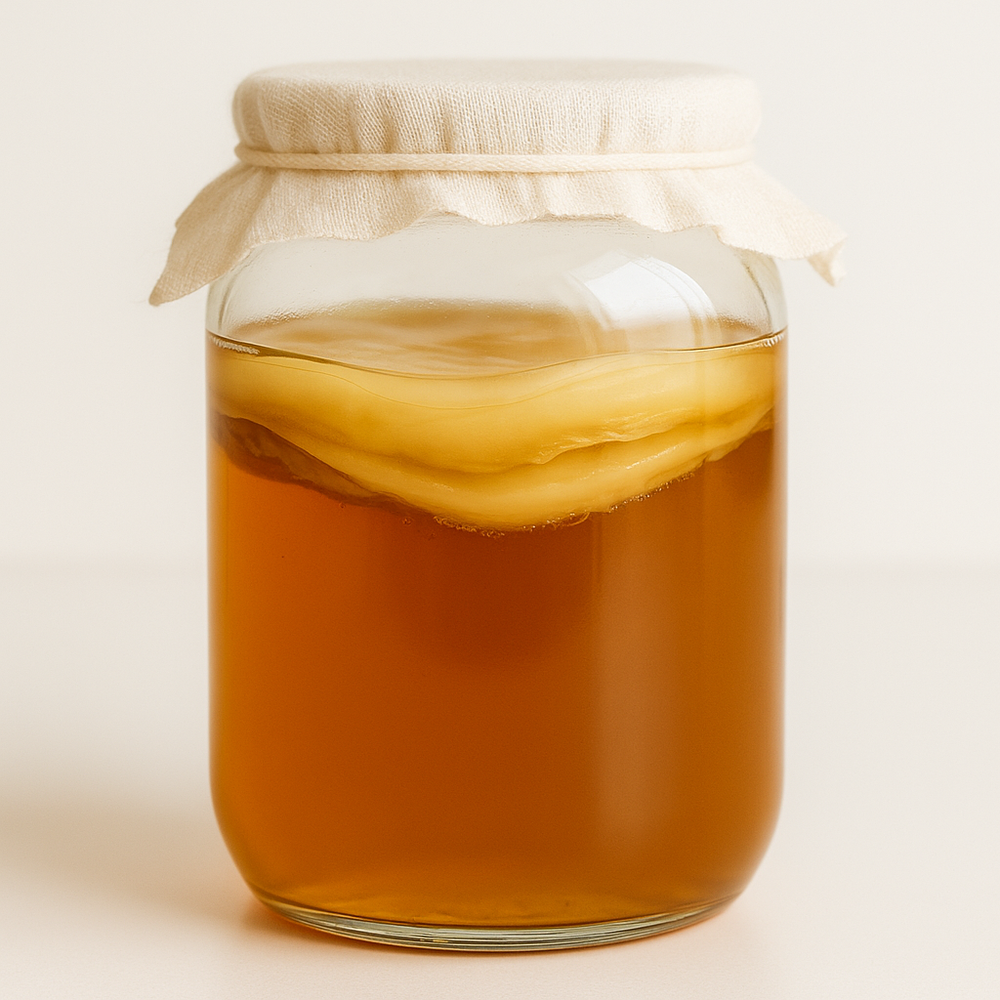
Step 1: Prepare starter
In a jar mix 50g unfed starter, 50g of water and 50g of flour and leave this in a warm spot for 4-6hrs.
Step 2: Combine Your Fed Starter and Water
In a roomy bowl, stir your fed starter into the water until it’s mostly dissolved. It doesn’t have to be perfect — just cloudy and milky-looking.
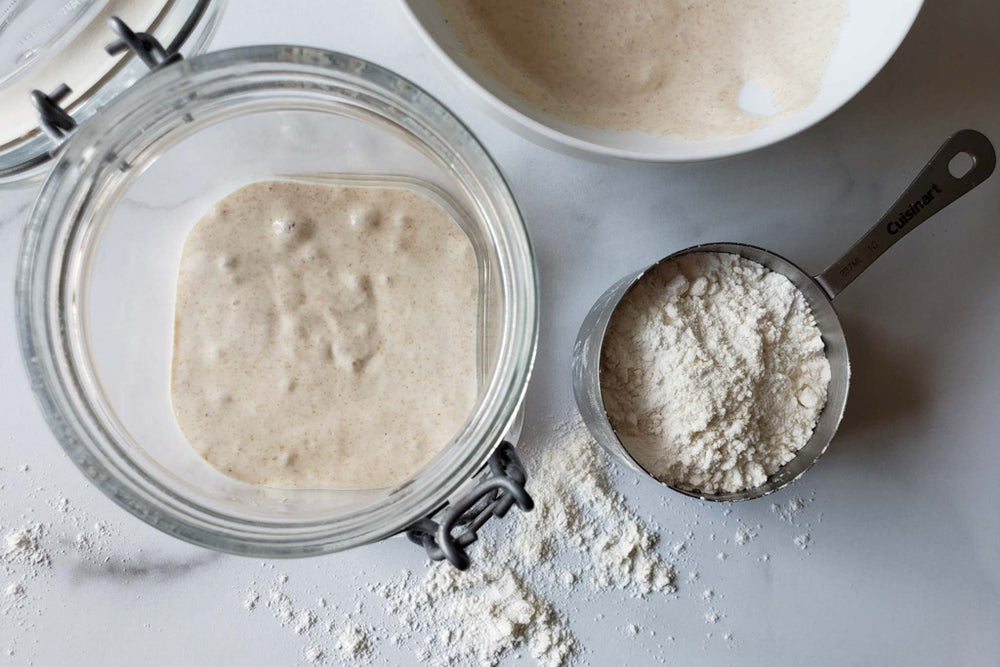
Step 3: Add Flour and Salt
Tip in the flour and salt. Stir until everything is combined. The dough will look shaggy, sticky, and not very bread-like yet — don’t worry, this is exactly how it should look.
Step 4: Let It Rest (Autolyse)
Cover the bowl with a damp tea towel and leave it for about 30 minutes. This little nap lets the flour soak up the water, making the dough easier to handle later.
Step 5: Stretch and Fold
Now comes the gentle strengthening part. Over the next 2 hours, you’ll stretch and fold the dough five times (roughly every 30 minutes).
Here’s how:
-
Wet your hands so the dough doesn’t stick.
-
Grab one edge of the dough, stretch it up, and fold it over the top.
-
Turn the bowl a quarter turn and repeat. Do this 4 times so you’ve gone all the way around.
Each round takes less than a minute. As you go, you’ll notice the dough becoming smoother, stronger, and puffier.
Step 6: Bulk Fermentation

After your last fold, cover the bowl again and let it sit at room temperature. Depending on how warm your kitchen is, this can take 3–8 hours. You’re looking for the dough to rise by about 30% and feel light and airy.
Tip: If your house is cool, you can tuck the bowl somewhere warmer, like near the oven light or wrapped in a towel.
Step 7: Shaping the Dough

When bulk fermentation is done, gently tip the dough onto a lightly floured surface. Let it relax for about 10 minutes — it will spread out a little.
To shape:
-
Fold the top down toward the centre.
-
Fold each side in like you’re wrapping a parcel.
-
Roll the dough down from the top to form a tight round.
Dust your banneton well with flour and place the dough in seam-side up. Dust the top with a little extra flour.
Step 8: Proofing

Now it’s time for the second rise. You have two options:
-
Room-temperature proofing: Leave the dough out for 1–4 hours, depending on warmth, until it passes the “poke test” (a finger press leaves a dent that slowly springs back).
-
Overnight proofing: Pop the covered banneton in the fridge overnight. This slows fermentation, deepens the flavour, and makes baking more flexible.
Step 9: Preheat the Oven
When you’re almost ready to bake, preheat your oven to 250 °C with your Dutch oven inside. Give it at least 30 minutes so everything is scorching hot.
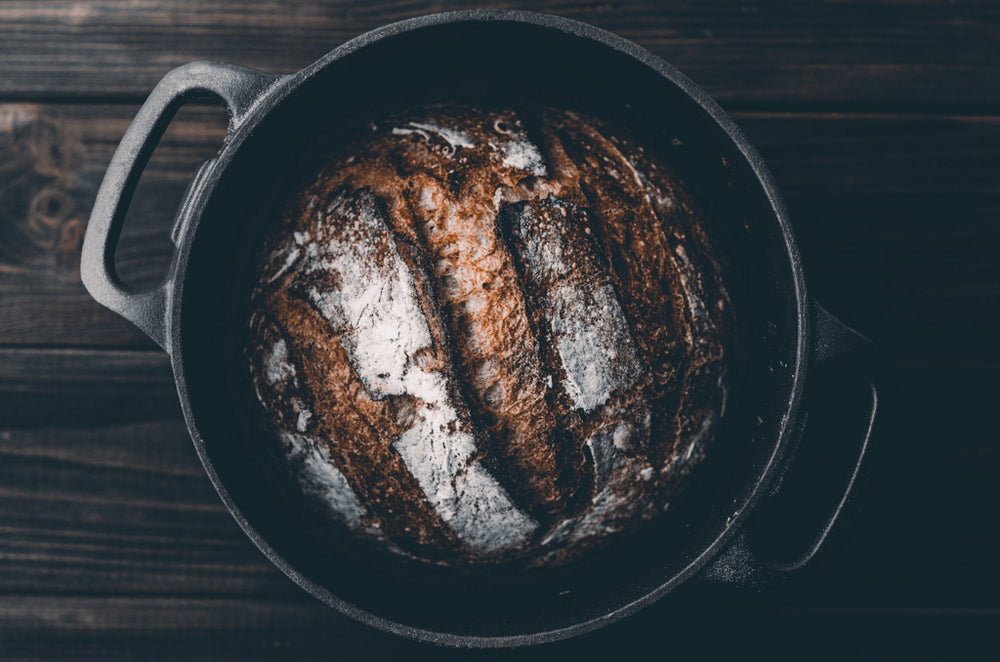
Step 10: Bake Your Loaf
Carefully turn your dough out onto a piece of baking paper. Use your blade to score the top — a simple slash works, or get creative with patterns.
Lift the dough into the hot Dutch oven, cover with the lid, and bake for 20 minutes. Then remove the lid, lower the heat to 220 °C, and bake another 25–30 minutes until the crust is deep golden and your house smells incredible.
If you don’t have a Dutch oven, you can bake on a tray with a pan of hot water in the bottom of the oven for steam.
Step 11: Cool and Enjoy

This is the hardest part: let your loaf cool on a rack for at least 1 hour before slicing. Cutting too soon can make the crumb gummy.
When it’s finally ready, slice it thick, spread with butter, sprinkle with a little flaky salt, and enjoy every bite.
Your Baking Timeline (Approximate)
-
Mixing + autolyse: 1 hour
-
Stretch and folds: 2 hours (5 quick folds)
-
Bulk fermentation: 3–8 hours
-
Proof: 1–4 hours (or overnight in the fridge)
-
Bake: 45–50 minutes
-
Cool: 1 hour
Yes, it takes patience, but most of the time is hands-off. And the reward is a rustic loaf you made with your own two hands.